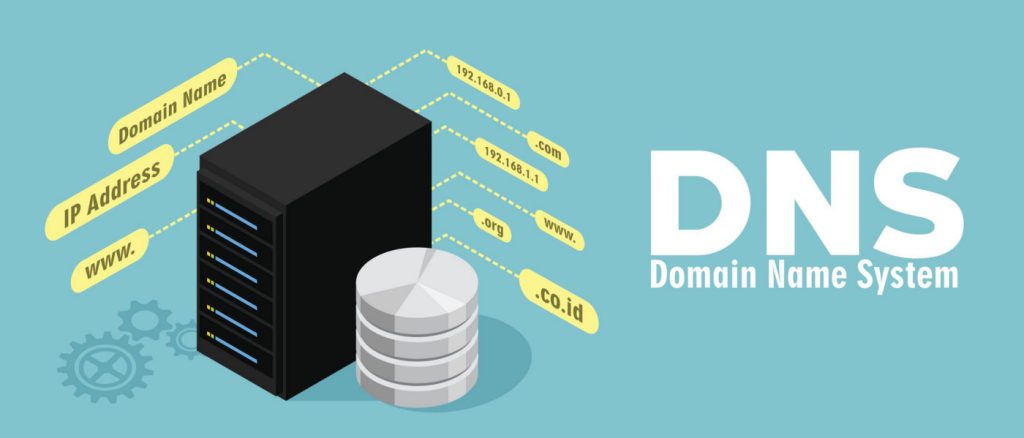
Konfigurasi dual stack DNS? Yaitu DNS server yang bisa melayani/menjawab query IPv4 dan/atau IPv6 sekaligus. Misalkan kita akan query domain google.com maka nanti akan muncul IPv4 dan IPv6 seperti ini
root@dns:~# nslookup google.com
Server:		1.1.1.1
Address:	1.1.1.1#53

Non-authoritative answer:
Name:	google.com
Address: 172.217.194.102
Name:	google.com
Address: 172.217.194.100
Name:	google.com
Address: 172.217.194.138
Name:	google.com
Address: 172.217.194.101
Name:	google.com
Address: 172.217.194.113
Name:	google.com
Address: 172.217.194.139
Name:	google.com
Address: 2404:6800:4003:c11::65
Name:	google.com
Address: 2404:6800:4003:c11::64
Name:	google.com
Address: 2404:6800:4003:c11::66
Name:	google.com
Address: 2404:6800:4003:c11::8b
Kebutuhan
Kali ini saya menggunakan Debian server. Berikut informasi detailnya:
- OS Debian 11 (Untuk penggunaan Ubuntu seharusnya sama saja karena basenya sama-sama Debian :D)
- IPv4: 192.168.80.58
- IPv6: fc02:12ad:f281:2001::6/64
- Domain: richi.web.id
- Server hostname: dns.richi.web.id
Sebelum melanjutkan ke proses konfigurasi pastikan terlebih dahulu server sudah dikonfigurasi dasar (minimal network dan hostname) dan pastikan juga server terkoneksi ke internet.
Konfigurasi
1. Install paket yang dibutuhkan
Jalankan perintah berikut untuk menginstall paket-paket yang dibutuhkan untuk konfigurasi DNS Server
apt update && apt upgrade
apt install bind9 bind9utils
2. Tambah Domain Zone dan Reverse Zone
Tambah zone dengan cara buka dan edit file /etc/bind/named.conf.local
vi /etc/bind/named.conf.localEdit file tersebut dan tambahkan konfigurasi seperti di bawah ini,
zone "richi.web.id" {
   type master;
   file "/etc/bind/db.richi.web.id";
};

zone "80.168.192.in-addr.arpa" {
   type master;
   file "/etc/bind/db.reverse.4";
};

zone "1.0.0.2.1.8.2.f.d.a.2.1.2.0.c.f.ip6.arpa." {
   type master;
   file "/etc/bind/db.reverse.6";
};
Domain dan IP reverse menyesuaikan
Untuk membuat IPv6 reverse bisa menggunakan IPv6 arpa generator tool online. Bisa di klik disini untuk salah satu contohnya. Tinggal copy paste saja IPv6 beserta prefixnya kemudian klik generate dan IPv6 arpanya akan otomatis terbuat.
3. Konfigurasi Forwarders dan Allow Query
Buka dan edit file /etc/bind/named.conf.options
vi /etc/bind/named.conf.optionsSelanjutnya ubah pada bagian forwarders dan dnssec-validation setelah itu tambahkan line allow-query seperti berikut,
options {
        directory "/var/cache/bind";

        // If there is a firewall between you and nameservers you want
        // to talk to, you may need to fix the firewall to allow multiple
        // ports to talk.  See http://www.kb.cert.org/vuls/id/800113

        // If your ISP provided one or more IP addresses for stable
        // nameservers, you probably want to use them as forwarders.
        // Uncomment the following block, and insert the addresses replacing
        // the all-0's placeholder.

        forwarders {
                1.1.1.1;
                8.8.8.8;
        };

        //========================================================================
        // If BIND logs error messages about the root key being expired,
        // you will need to update your keys.  See https://www.isc.org/bind-keys
        //========================================================================
        dnssec-validation no;

        allow-query { any; };

        listen-on-v6 { any; };
};
6. Buat Database Zone
Database ini nanti yang akan menyimpan record-record DNS dari Zone yang ditambahkan tadi. Untuk membuat database copy dan rename saja database default agar lebih mudah.
cd /etc/bind
cp db.local db.richi.web.id
cp db.127 db.reverse.4
cp db.127 db.reverse.6
Selanjutnya konfigurasi setiap zonenya
Konfigurasi zone domain
Buka file /etc/bind/db.richi.web.id
vi /etc/bind/db.richi.web.idKemudian edit dan tambahkan konfigurasi seperti berikut ini,
@       IN      SOA     dns.richi.web.id. root.richi.web.id. (
                              2         ; Serial
                         604800         ; Refresh
                          86400         ; Retry
                        2419200         ; Expire
                         604800 )       ; Negative Cache TTL
;
@       IN      NS      dns.richi.web.id.
@       IN      A       192.168.80.58
@       IN      AAAA    fc02:12ad:f281:2001::6
dns     IN      A       192.168.80.58
dns     IN      AAAA    fc02:12ad:f281:2001::6
IPv4 menggunakan A records dan untuk IPv6 menggunakan AAAA records
Konfigurasi reverse IPv4
Buka file /etc/bind/db.reverse.4
vi /etc/bind/db.reverse.4Sesuaikan menjadi seperti konfugurasi di bawah ini,
$TTL	604800
@	IN	SOA	dns.richi.web.id. root.richi.web.id. (
			      1		; Serial
			 604800		; Refresh
			  86400		; Retry
			2419200		; Expire
			 604800 )	; Negative Cache TTL
;
@	IN	NS	dns.richi.web.id.
58	IN	PTR	richi.web.id.
58	IN	PTR	dns.richi.web.id.
Konfigurasi reverse IPv6
Buka file /etc/bind/db.reverse.6
vi /etc/bind/db.reverse.6Setelah itu edit menjadi seperti konfigurasi berikut,
$TTL	604800
@	IN	SOA	dns.richi.web.id. root.richi.web.id. (
			      1		; Serial
			 604800		; Refresh
			  86400		; Retry
			2419200		; Expire
			 604800 )	; Negative Cache TTL
;
@	IN	NS	dns.richi.web.id.
6.0.0.0.0.0.0.0.0.0.0.0.0.0.0.0		IN	PTR	richi.web.id.
6.0.0.0.0.0.0.0.0.0.0.0.0.0.0.0		IN	PTR	dns.richi.web.id.
7. Restart bind
Restart service bind9 untuk menerapkan konfigurasi.
service bind9 restartTesting
Arahkan nameserver pada file /etc/resolv.conf ke IP server itu sendiri
nameserver 192.168.80.58
nameserver fc02:12ad:f281:2001::6
search richi.web.id
Setelah itu mulai testing. Jika berhasil maka akan keluar hasil seperti berikut ini,
$ nslookup richi.web.id
Server:		192.168.80.58
Address:	192.168.80.58#53

Name:	richi.web.id
Address: 192.168.80.58
Name:	richi.web.id
Address: fc02:12ad:f281:2001::6

root@pmg:/etc/bind#
$ nslookup dns.richi.web.id
Server: 192.168.80.58
Address: 192.168.80.58#53
Name: dns.richi.web.id
Address: 192.168.80.58
Name: dns.richi.web.id
Address: fc02:12ad:f281:2001::6$ nslookup 192.168.80.58
58.80.168.192.in-addr.arpa name = dns.richi.web.id.
58.80.168.192.in-addr.arpa name = richi.web.id.nslookup fc02:12ad:f281:2001::6
6.0.0.0.0.0.0.0.0.0.0.0.0.0.0.0.1.0.0.2.1.8.2.f.d.a.2.1.2.0.c.f.ip6.arpa name = dns.richi.web.id.
6.0.0.0.0.0.0.0.0.0.0.0.0.0.0.0.1.0.0.2.1.8.2.f.d.a.2.1.2.0.c.f.ip6.arpa name = richi.web.id.Selesai.
asdasdasdasasdasdsdasd asdasdasd
Mantap kak richi. Lanjutkan menulis ya.